

Meet Scrat Pine Cone, the acorn-obsessed saber-toothed squirrel from the Ice-Age. He also stars in our favorite movie, Ice Age, The Meltdown. He is the second character in our recycled pine cone craft series. Yesterday we created Mr. Royal Penguin Pine Cone. Pine cone crafts for kids and adults are easy, fun, and make great gifts!

- Pine cones, big and miniature
- Pine tree branches
- White tempura paint & bowl
- Paint brush
- Google eyes
- Black & white felt
- Burlap Fabric
- Tacky Glue
{love this stuff}
- Mini High-Temp Glue Gun
- Mini Glue Sticks
- Tiny Spring Clothespins 1″
{great product}
- Gold spray paint (optional)
- Adult Scissors

1. Cover your work surface or use a paper plate. Pour white paint into bowl and add brush. To ensure there are no critters living inside, bake 45 minutes at 250 degrees {parent}. It will have a shiny appearance once baked.
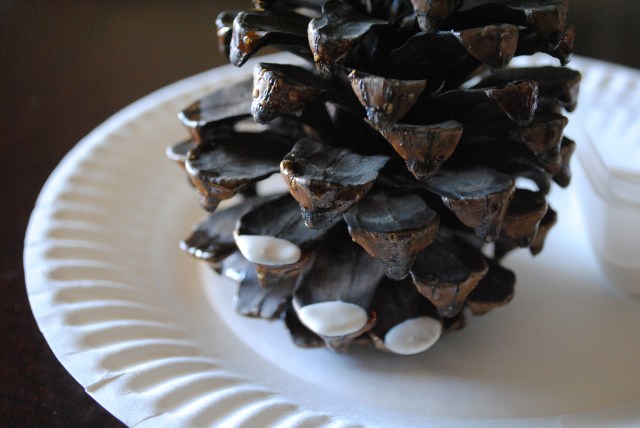
2. Once cooled, begin to paint the tips of the pine cone branches starting from the bottom-up.
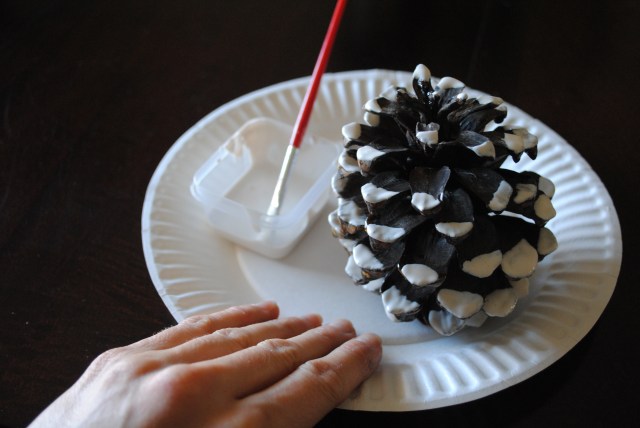
3. Turn the plate in a circular motion as you paint in order to prevent smudging. Let dry.
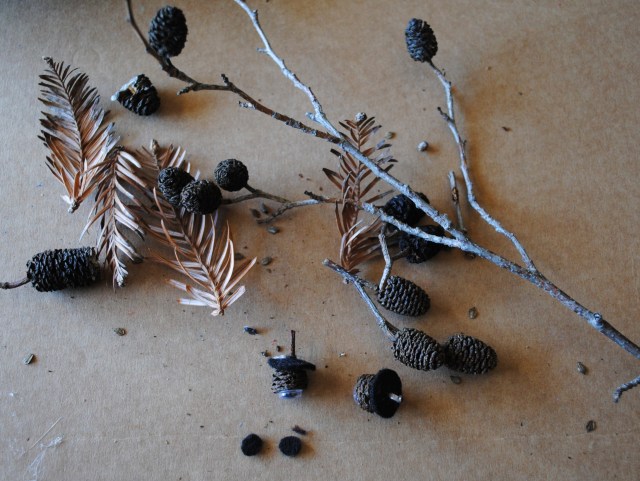
4. While the pine cone is drying, let’s create all the body parts. Gather all your nature goodies ― miniature pine cones and pine leaves.
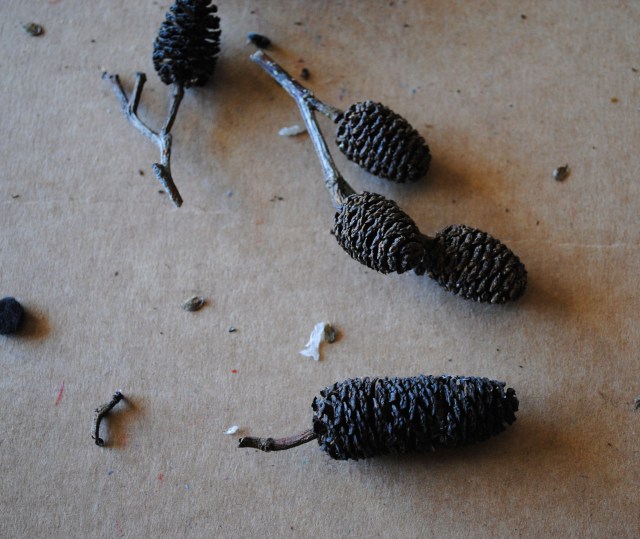
5. I used 3 miniature pine cones glue together to make the nose {long cone above}. If you find or buy one, you can eliminate this step. Cut down the ends of two of them and hot glue {parent] or tacky glue them together.
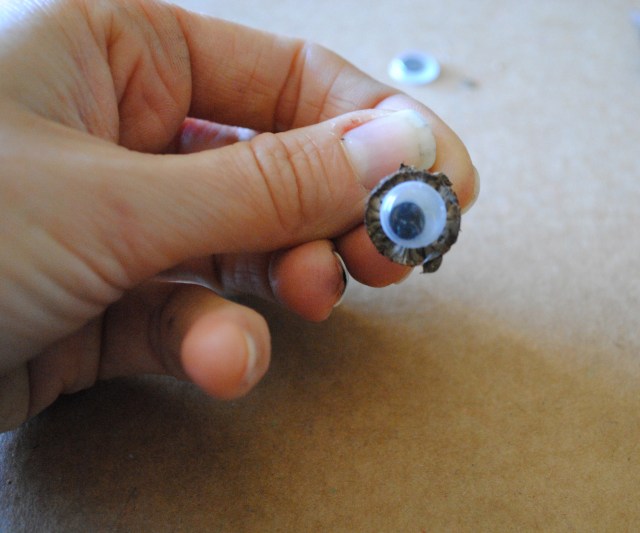
6. Next we’ll make the eyes. Cut a miniature pine cone in half and glue a small googly eye on. Repeat process. I found these mini ones on the street near my house.
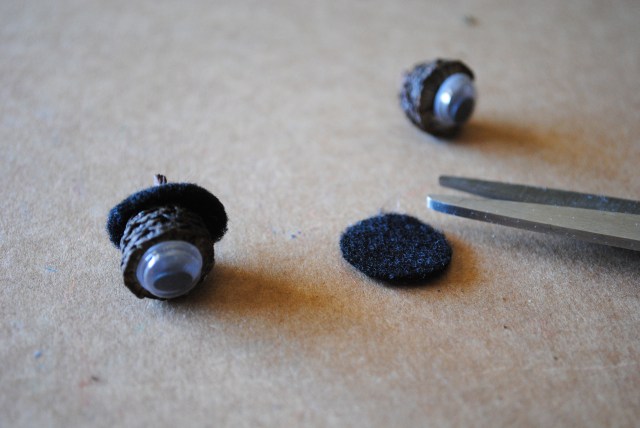
7. Once both eyes are done, cut two small circles, bigger then your eye from your black felt. You can achieve this same thing using black pom-pom, but I didn’t have any. The purpose of this is to define the eye away from the neutral body. Next, poke them through the back of the eyes {see above photo}.
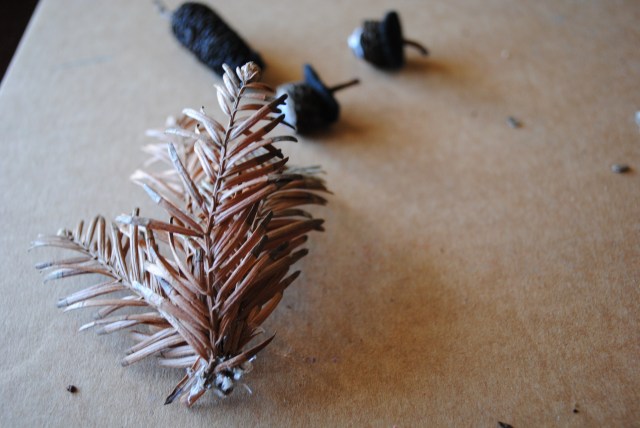
8. Now, the tail. Glue the pine leaves together, keeping in mind volume.

9. When your pine cone is dry, you’re ready to assemble!

10. Cut a small 2×2″ square {roughly — depends on size of cone} to cover the face. Poke through the pine cone branches. This will help to distinguish the facial details. You can use any type of fabric — I chose Burlap Fabric {this is great for lots of projects} because of its texture and convenience — it was left over from my wedding materials.

11. Add the eyes — cut the stems off the back, add hot glue behind the black felt, and stick on.

12. Now, let’s add the nose. Cut the stem off the back, add glue, and stick on.
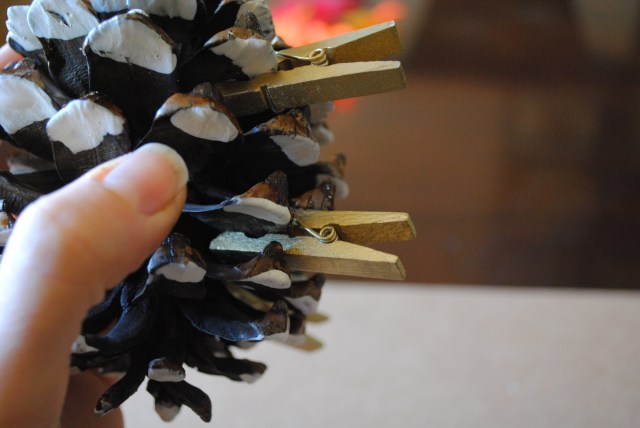
12. Let’s add the legs. I used Tiny Spring Clothespins 1″ clips, spray-painted gold. These are also great for lots of projects! Gold isn’t necessary, I just had them from my wedding.

13. Level the pins {this may take a minute and can be frustrating}.
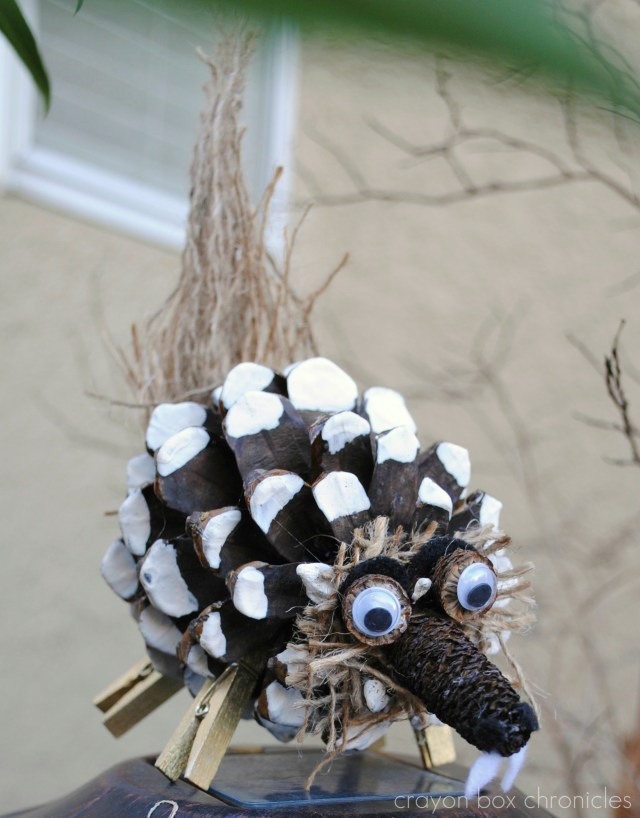
14. Next, add the tail. {note} I changed the tail in the end. I used the same burlap fabric — just pulled it apart and glued — this is the new one.
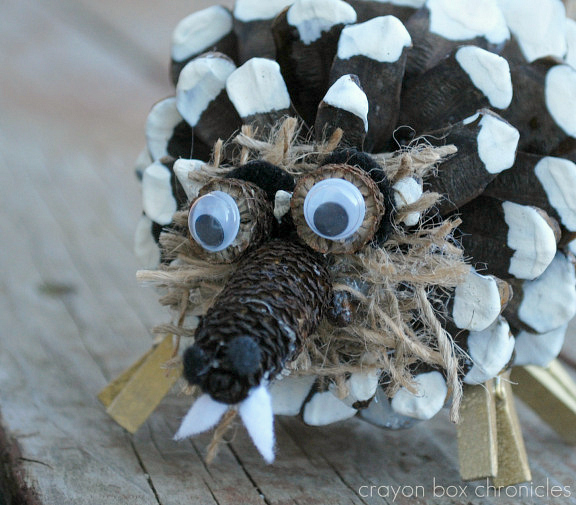
15. Here is his face. Now, add his teeth. Cut two small teeth from white felt and glue.
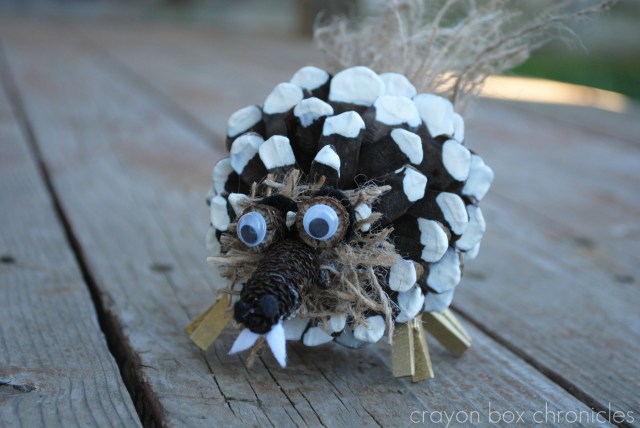
Walla — Scrat, the saber-toothed squirrel. For more pine cone crafts, see Royal Penguin Pine Cone.
If you’d like to see more, please consider Subscribing By Email.
Follow us on Facebook, Pinterest, Twitter, Bloglovin’ and Google+ as we explore play through imagination!

AMAZON LINKS


I’m the Editor of Fun Family Crafts and wanted to let you know that we have featured your saber toothed squirrel project! You can see it here:
https://funfamilycrafts.com/saber-toothed-squirrel-pinecone/
If you have other kid-friendly craft tutorials, we’d love for you to submit them. Thanks for an adorable project idea!
LikeLike
What a cute craft! I just wanted to let you know I have a kids activities submission site (Simply Creative Kids) and I am linking to this post if you don’t mind. You are welcome to submit your projects to my site if you’d like!
LikeLike
My boys are big Ice Age fans and Scrat is a firm fave, your step by step guide is brilliant. Thanks for sharing at the Outdoor Play Party, I’m off to pin
LikeLike
Yay, isn’t he wildly crazy?! I appreciate your kind words and pinning! My son loves Scrat too! He always says, “He so crazy mamma!” ;_)
LikeLike
That is awesome! Pinned it.
LikeLike
Thanks for the pin Kristen and stopping by to comment! =)
LikeLike
WHAT?!?! That is simply adorable!! Pinned!
LikeLike
Thanks Dyan and thanks so much for pinning! 😉
LikeLike
this is sooooo cute!! pinning 🙂
LikeLike
thank you Powerful Mothering! 🙂 And thanks for the pin too!
LikeLike
Howdy! I simply want to offer you a big thumbs up for your excellent information
you have got here on this post. I will be coming back to your web site for more soon.
LikeLike
Thanks! I appreciate it! 🙂
LikeLike
This is my first time pay a visit at here and i am truly happy to read everthing at one place.
LikeLike
Thank you! 🙂
LikeLike
Muchas gracias. ?Como puedo iniciar sesion?
LikeLike